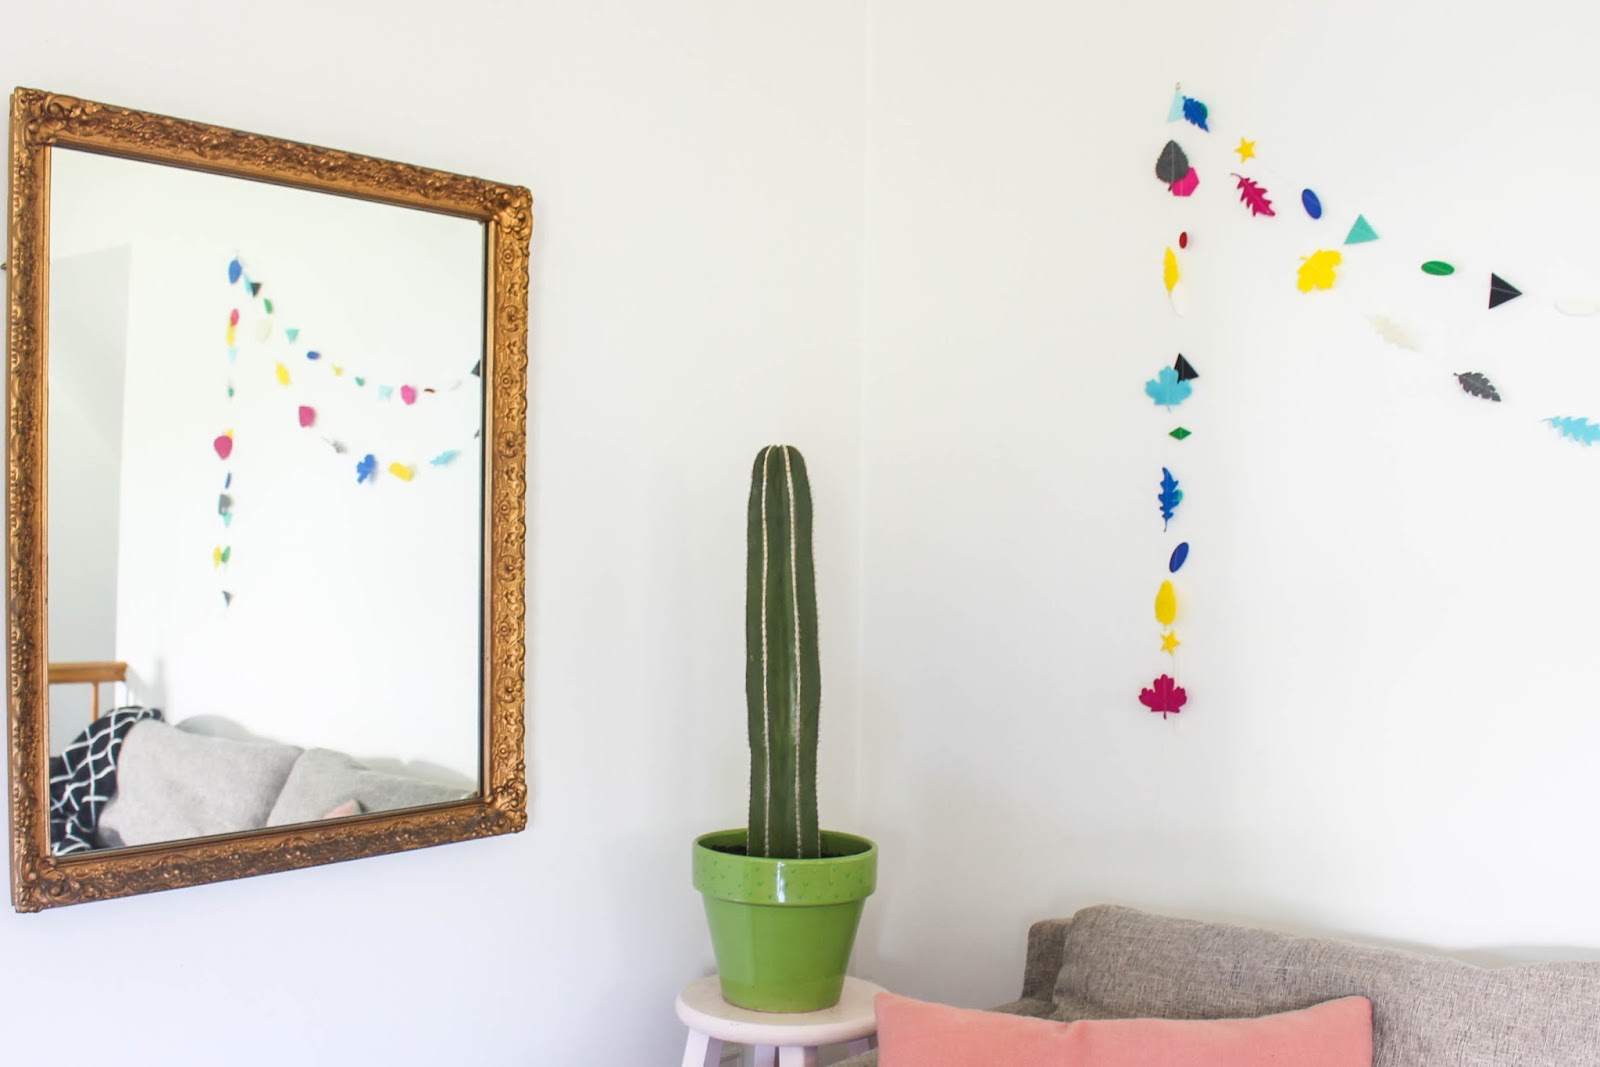
I could not be happier that I partnered with Cricut to play around with their new machine, the Maker! In my last post for them, you saw how easy it was to make playful animal masks, in this post I wanted to show you a cute fall felt garland!
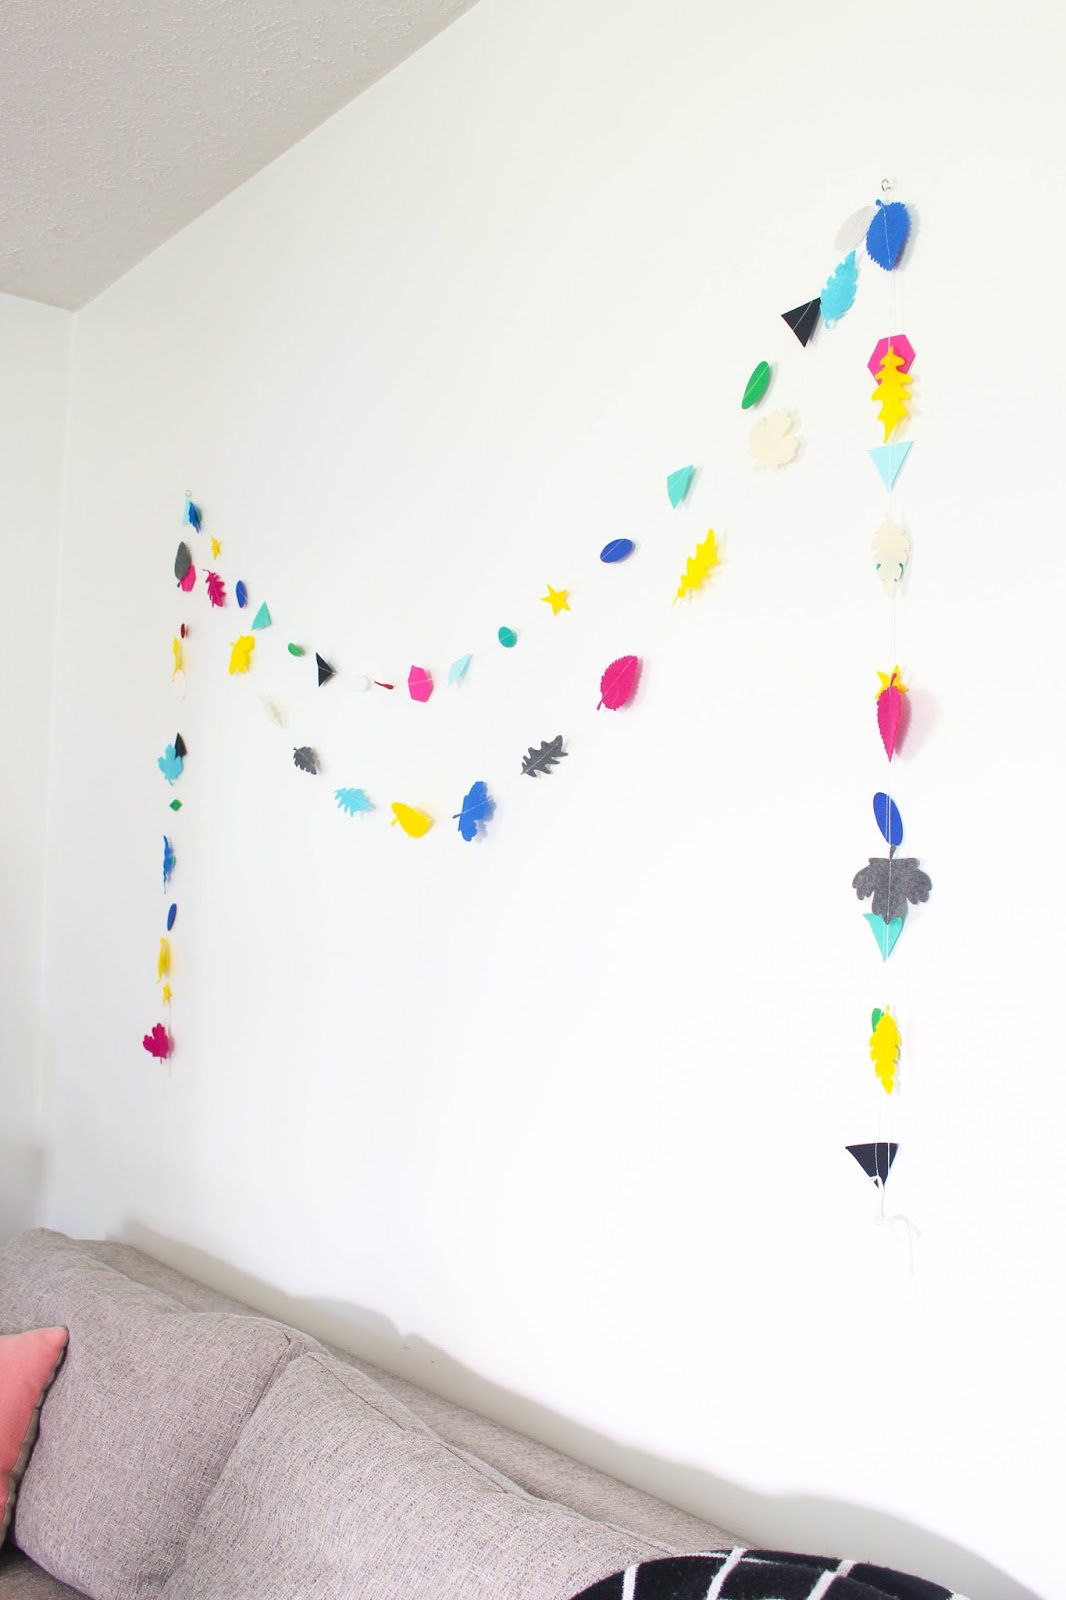
With help from the Maker, this project took hardly any time and gets compliments from all of my visitors. Here is how you can make your own:
Supplies: Cricut Maker with rotary blade, sheets of felt in a variety of colors, pink fabric mat, sewing machine, and thread.
Procedure:
1. Follow this link to access the images I used to make this project or search for leaves in the Circuit Design Space and pick your own.
2. Adjust the size of the leaves to suit your needs. If you are using my images, they are already sized.
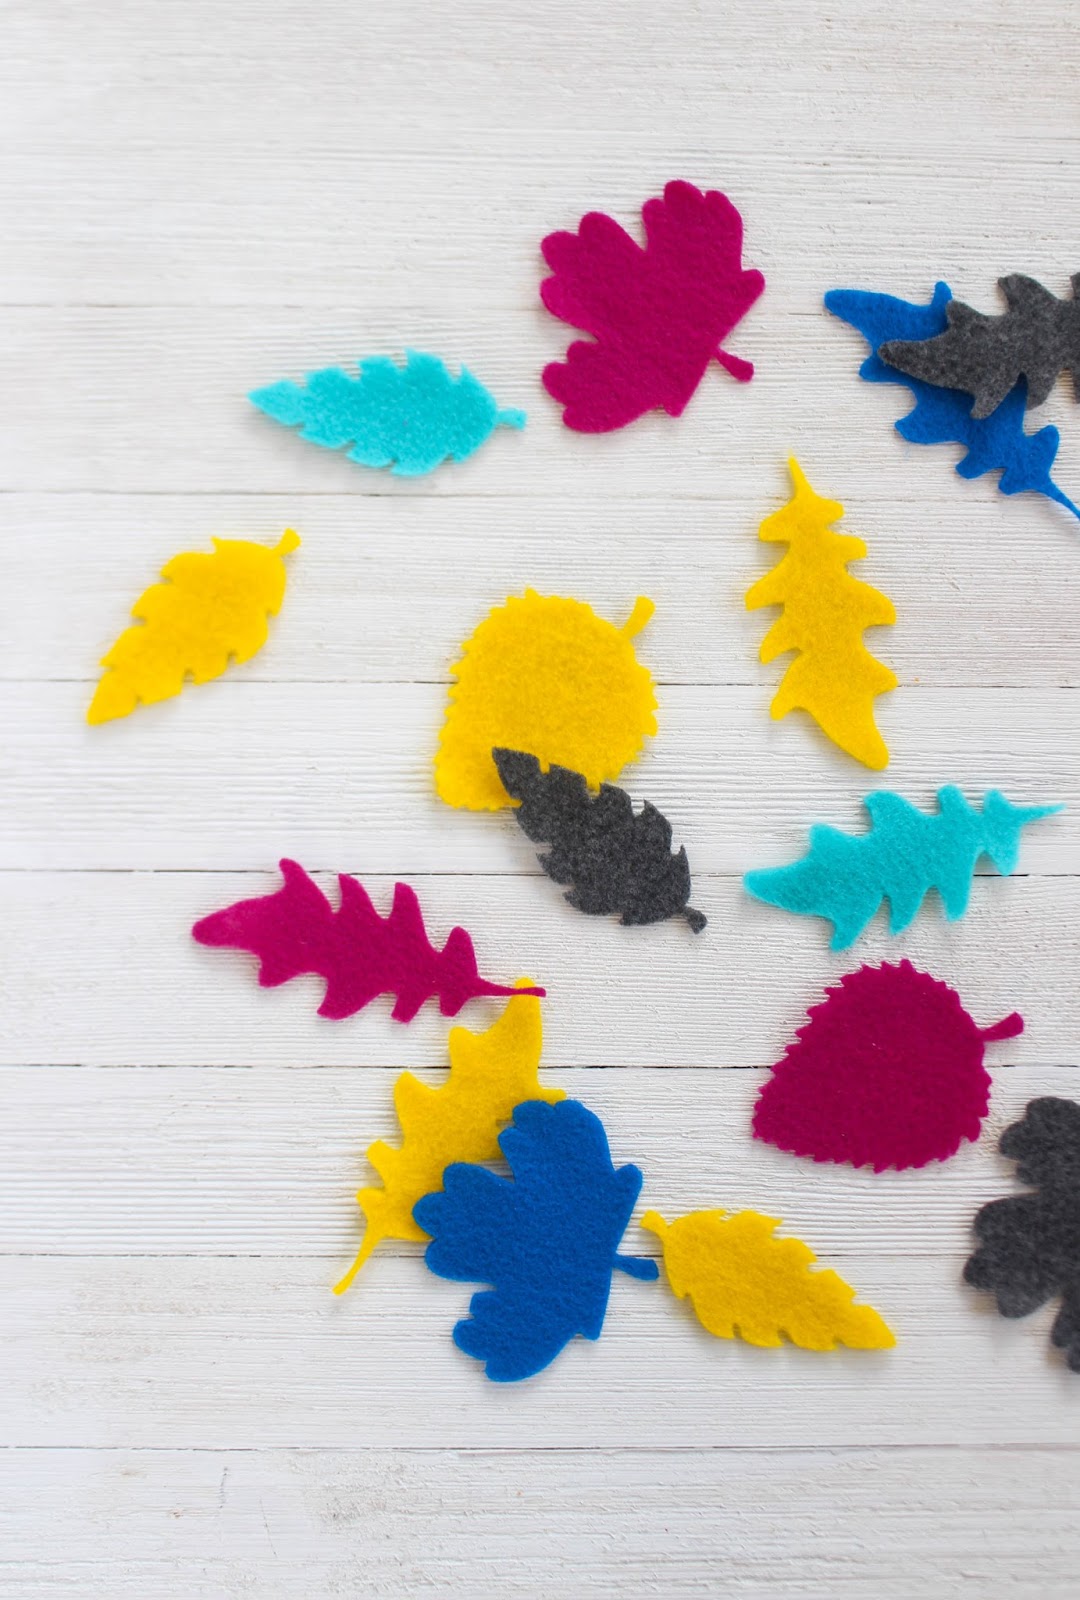
3. Lay felt (I used bright colors, but you could use more traditional fall colors if that is your jam) onto the pink fabric mat. Ready your Maker with the rotary blade and press go!
4. Now, sit down with your favorite magazine and let the Maker do its thing. As each mat is completed, be sure to carefully remove the felt leaves from the mat. If you tug too fast the felt will stretch or break. I got my felt for 10 cents per sheet, so it's not like it is the sturdiest of fabrics.
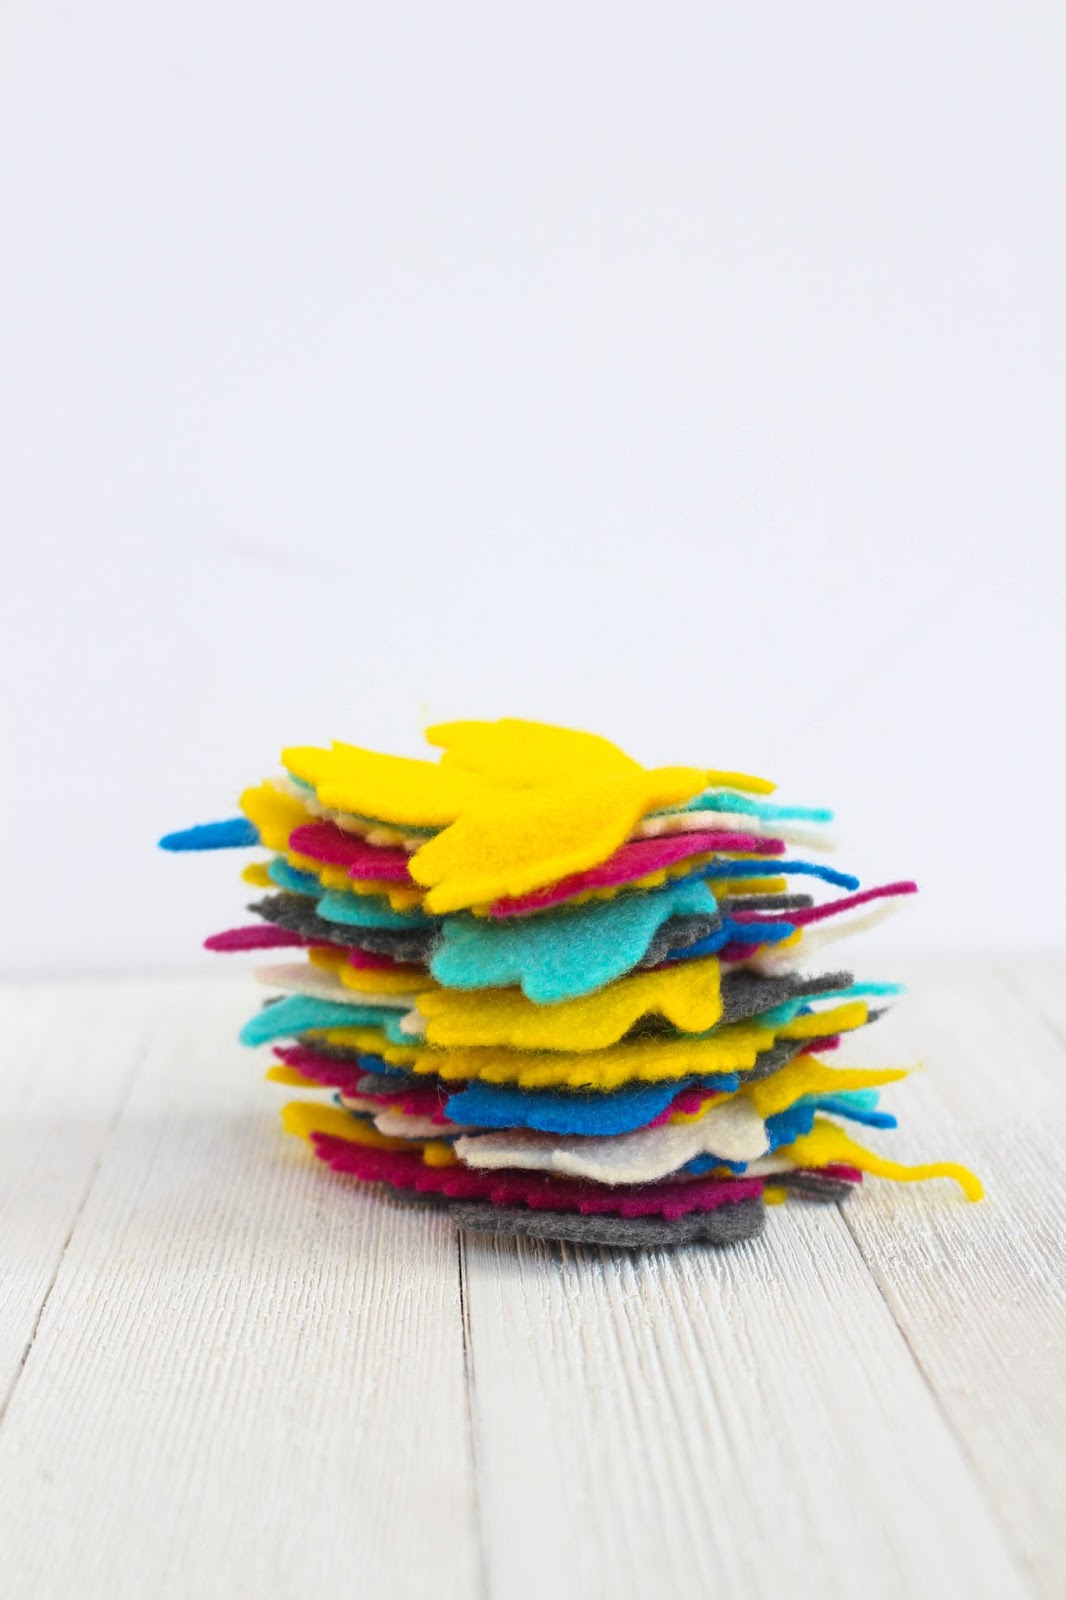
5. Once all of your leaves have been cut, stack them in the order you want them displayed. I tried to make my random but also evenly spaced (I didn't put the same color next to each other).
6. Ready your sewing machine.
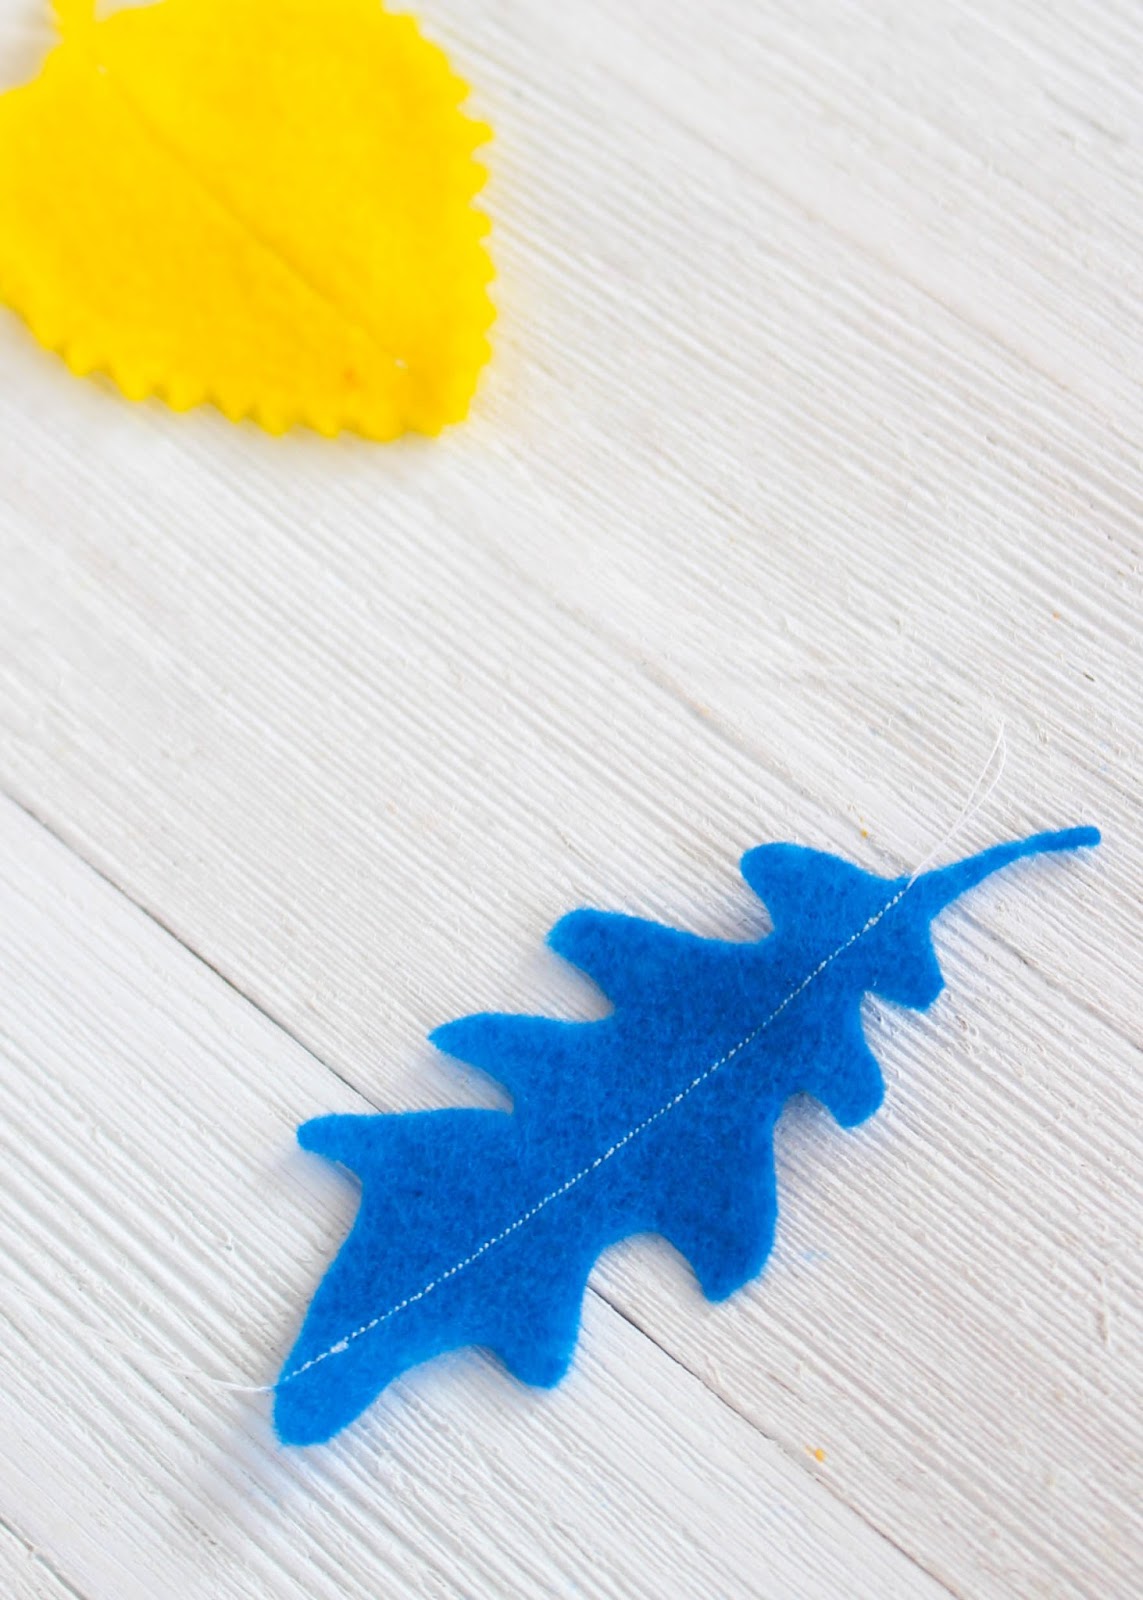
7. Pull out 6 or so inches of thread, then begin sewing down the middle of your first leaf. Go ahead and back stitch just a little at the beginning and end of each leaf. Once you reach the end, gently pull the leaf along with about 6 inches of thread and repeat until all of the leaves are strung together.
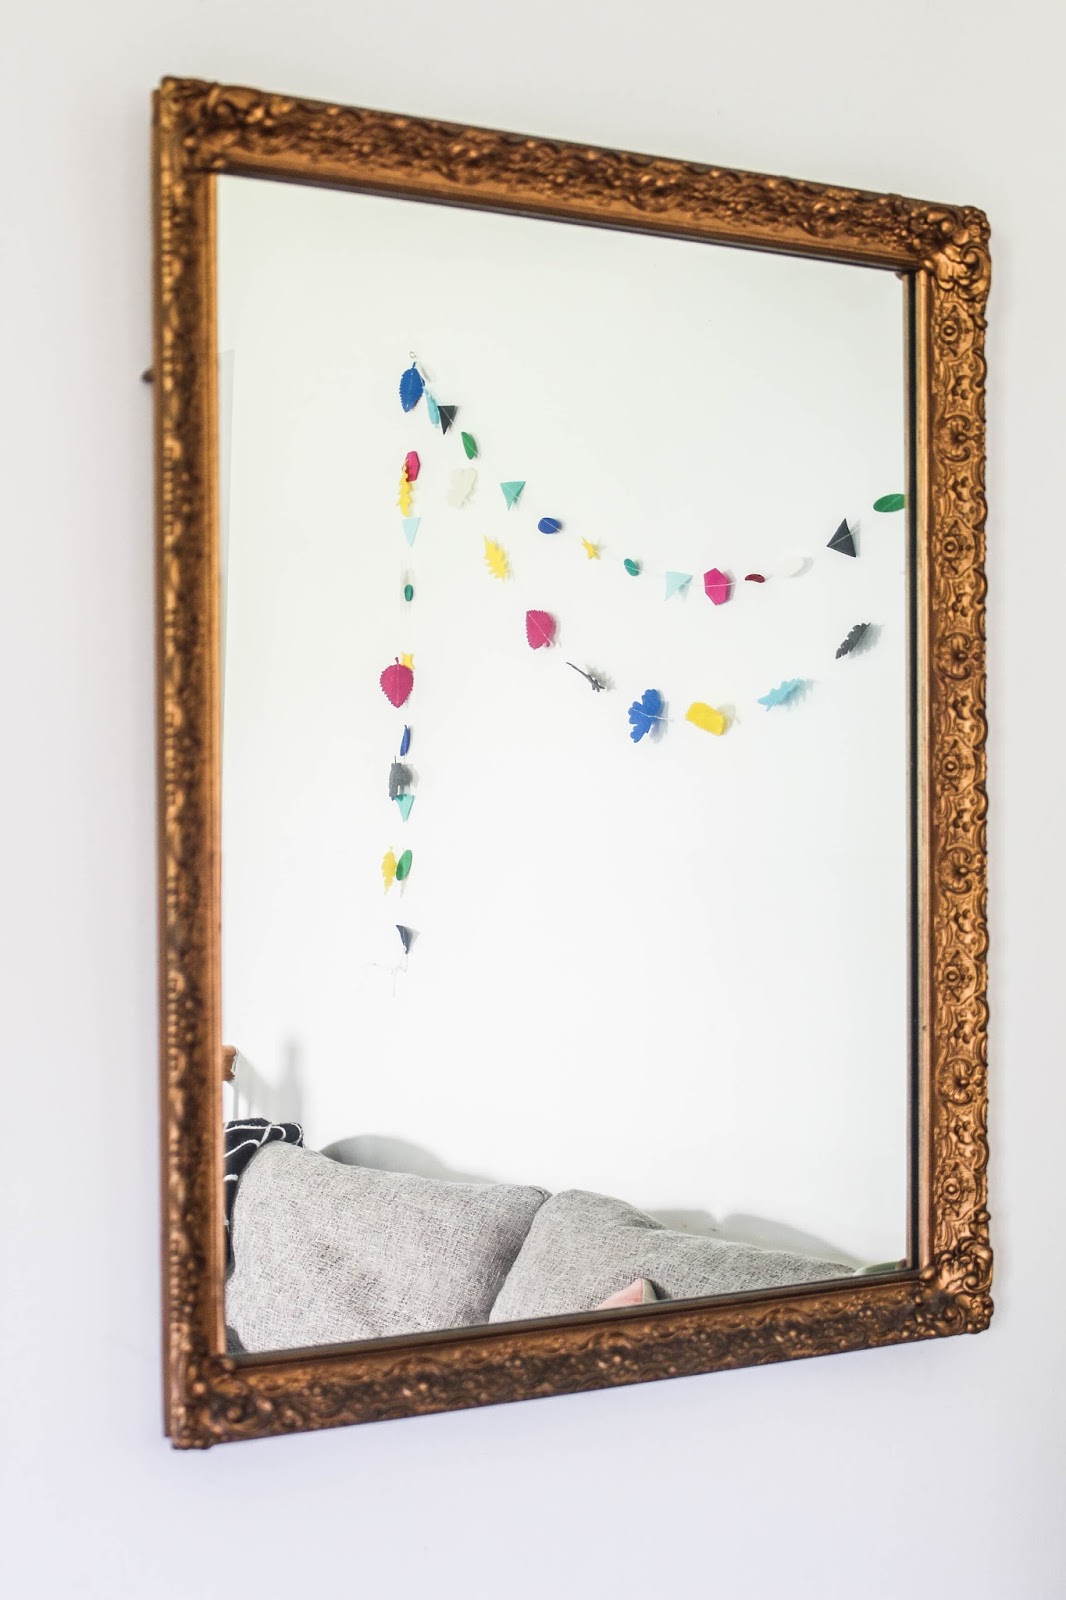
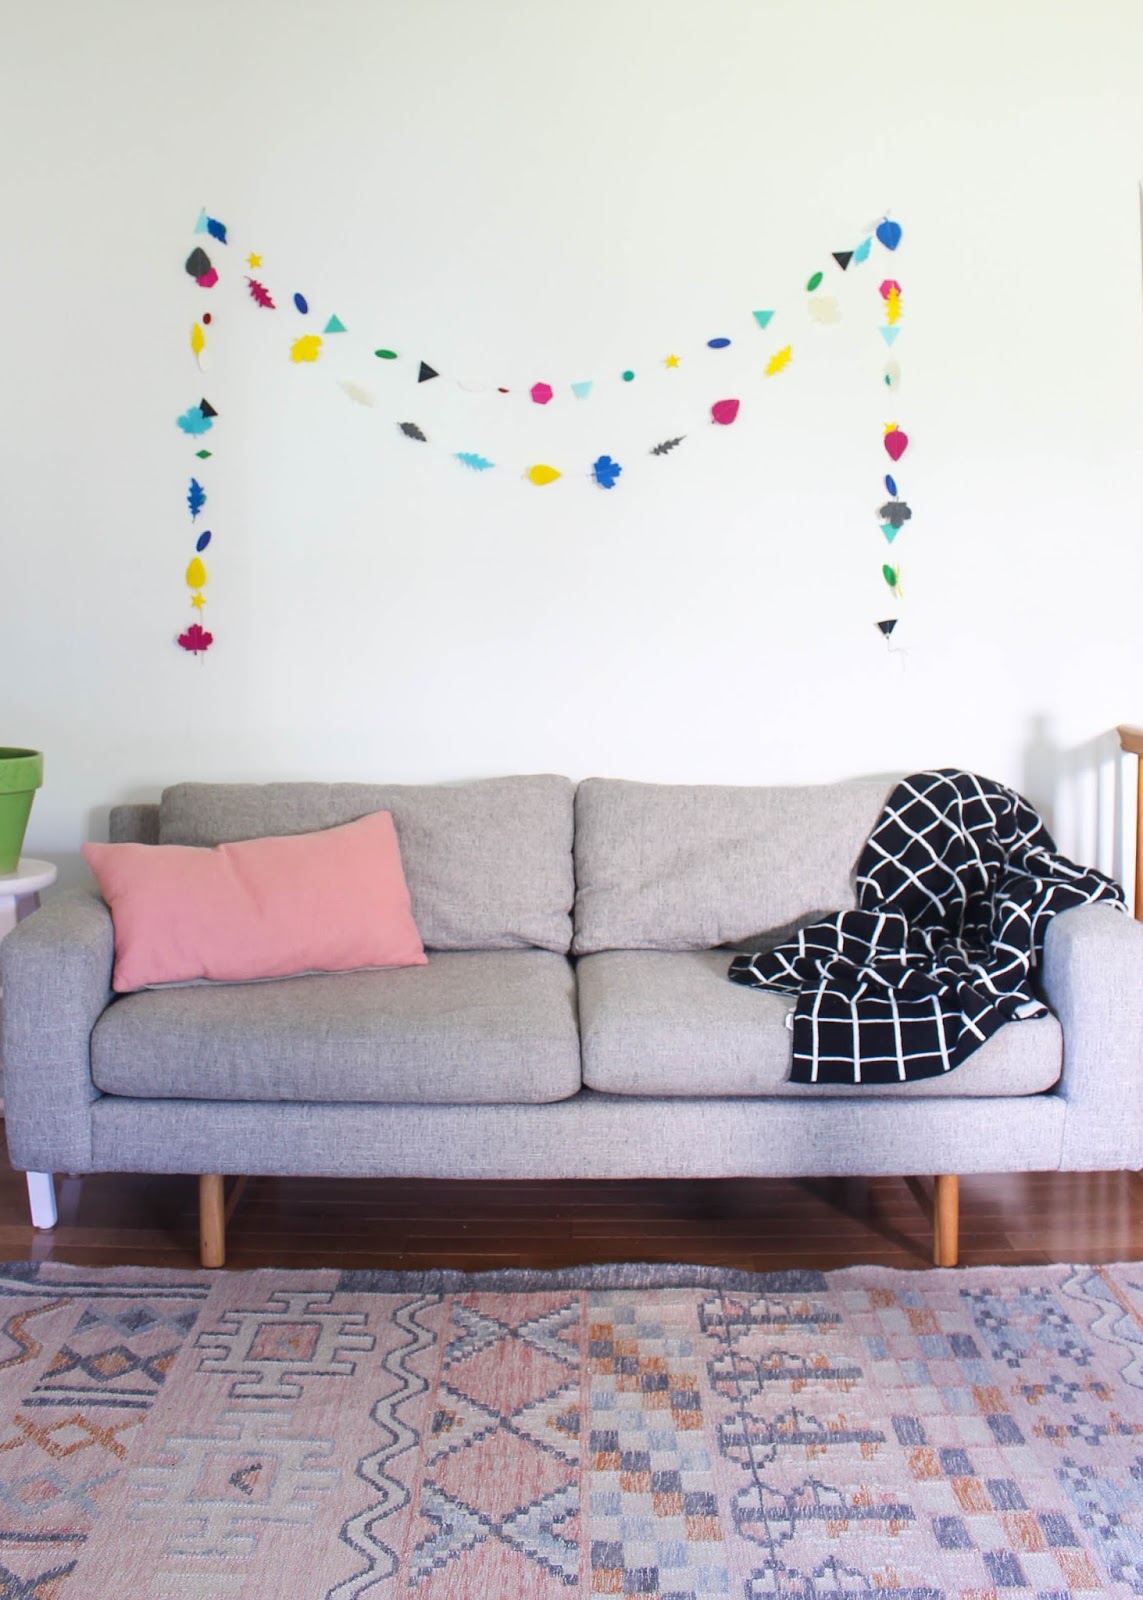
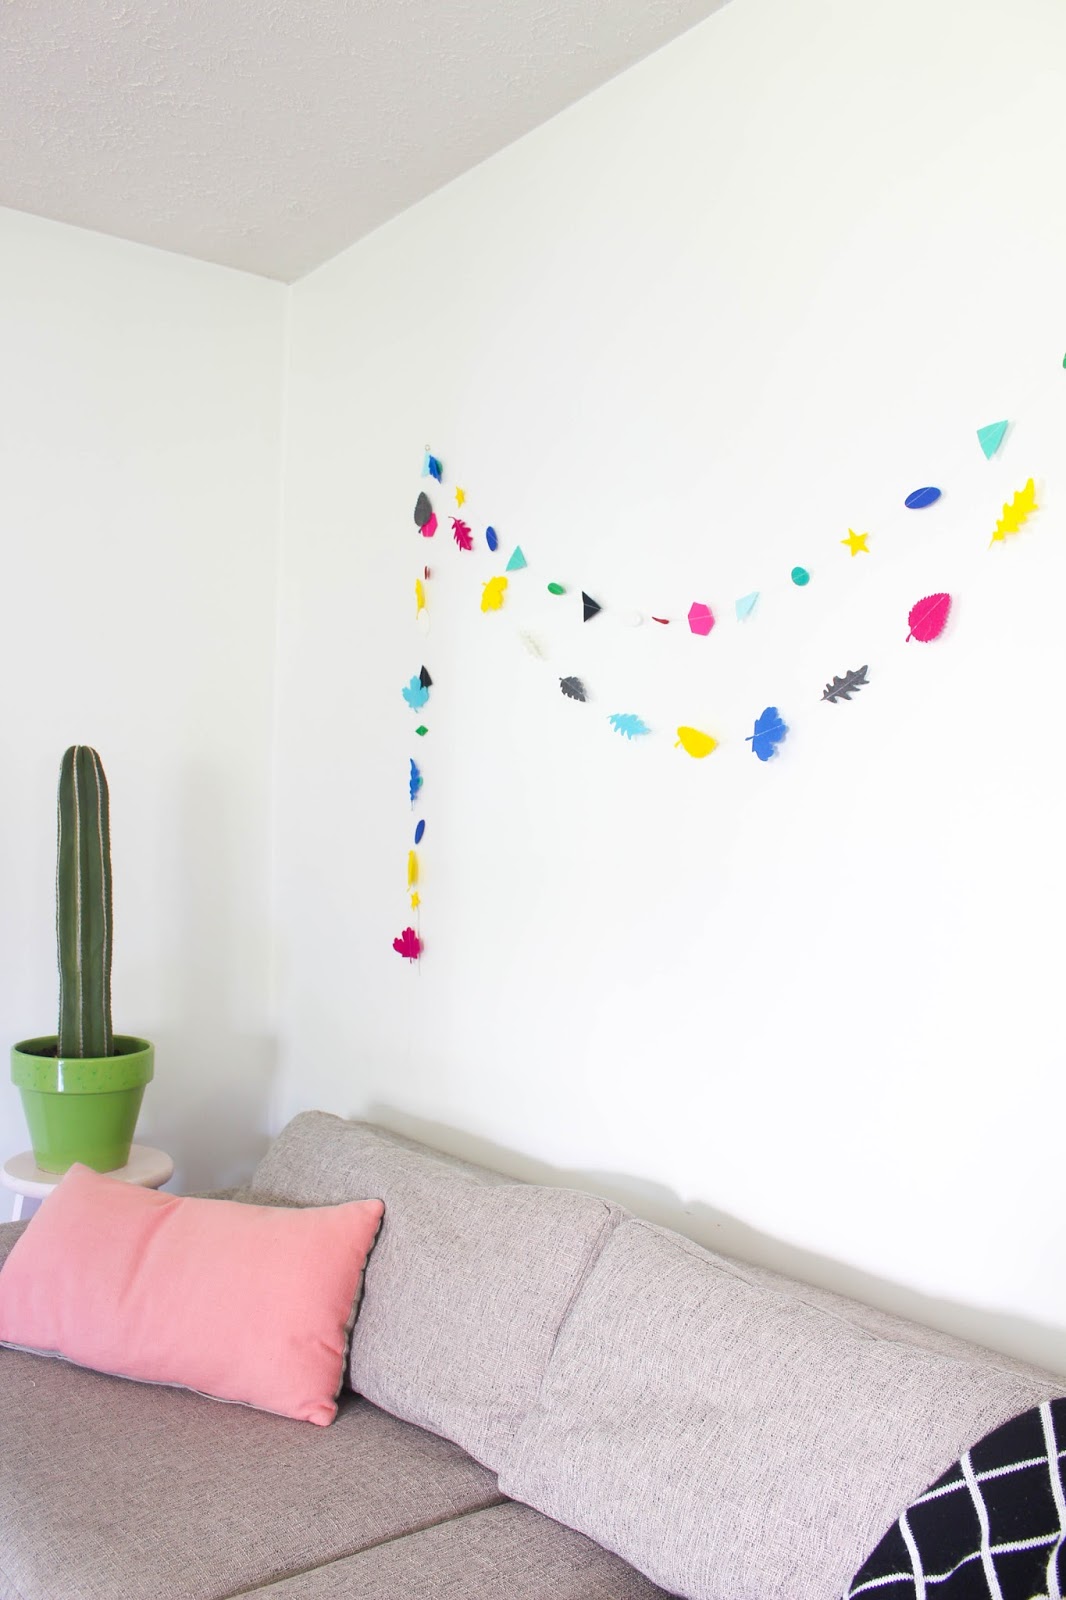
8. Hang on your wall, mantel, or down the center of your table.
Tip: When storing garlands like this, I wrap them around a piece of cardboard and tape the end piece down.
This is a sponsored conversation written by me on behalf of Cricut. The opinions and text are all mine.

This is a sponsored conversation written by me on behalf of Cricut. The opinions and text are all mine.


